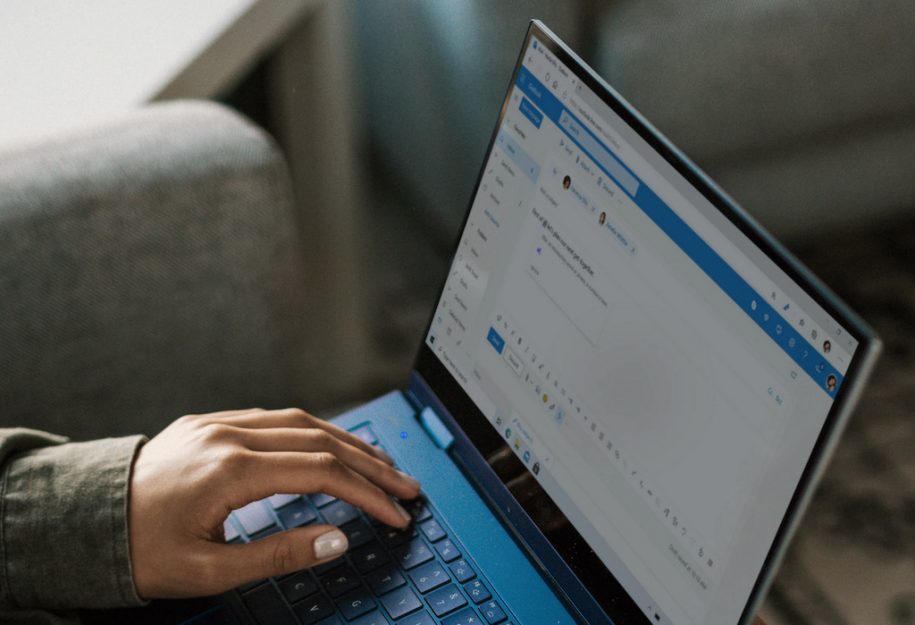
With Microsoft 365 Email from GoDaddy, you can get up to 50 GB of storage to use for your emails, contacts, and calendars through Microsoft Outlook. You can also set up a professional email address using your own domain name.
If you would like to get a Microsoft 365 email address, but don’t quite know how to start, we’ve provided step-by-step instructions on how to successfully create and implement your brand new Microsoft 365 email.
Create Your Microsoft 365 Email and Connect it to Your Domain
To create a Microsoft 365 email address with your own domain, you may follow these steps:
- Purchase a Microsoft 365 email plan. You may want to start with the Email Essentials plan or the Email Plus plan. The difference between these plans is the amount of storage you are allotted (10 GB with Email Essentials and 50 GB with Email Plus).
- Sign into your Email & Office Dashboard (if not already signed in after purchasing your plan).
- If you have an existing Microsoft 365 email address, then select, Add user. If not, then continue to the next step to create your email address.
- Select the domain name you want to use for your email address, and then click Continue.
- If you have not yet purchased the domain name you want to use with your email, you may do so here.
- Enter a username for your new email address.
- To help make your email more memorable, it’s suggested to use your name and keep it short and sweet like, [email protected]. Avoid using numbers, characters, and long names as it makes it more difficult for people to remember your email address.
- Enter your first and last name.
- In the Link domains menu, select the Do not share option.
- If this is your first email address with this domain, then you will not see this option.
- Assign admin permissions. To do this, simply select Yes. If you already have an email account, you’ll just choose whether the email is for your or another person.
- Choose a password option.
- If the account is not for you, select Use a temporary password so the other user can change it at a later time.
- If the account is for you, under Create a password, you’ll create a password for yourself. It’s important to ensure it’s different from your customer account. If you have an email account already, select Create my own password first.
- Save all updates.
By following these steps, you will have successfully set up your first Microsoft 365 email address.
When your email address is ready, you’ll receive a confirmation email to the email you provided. Sometimes it can take a few minutes arrive in your inbox.


Leave a Reply
You must be logged in to post a comment.